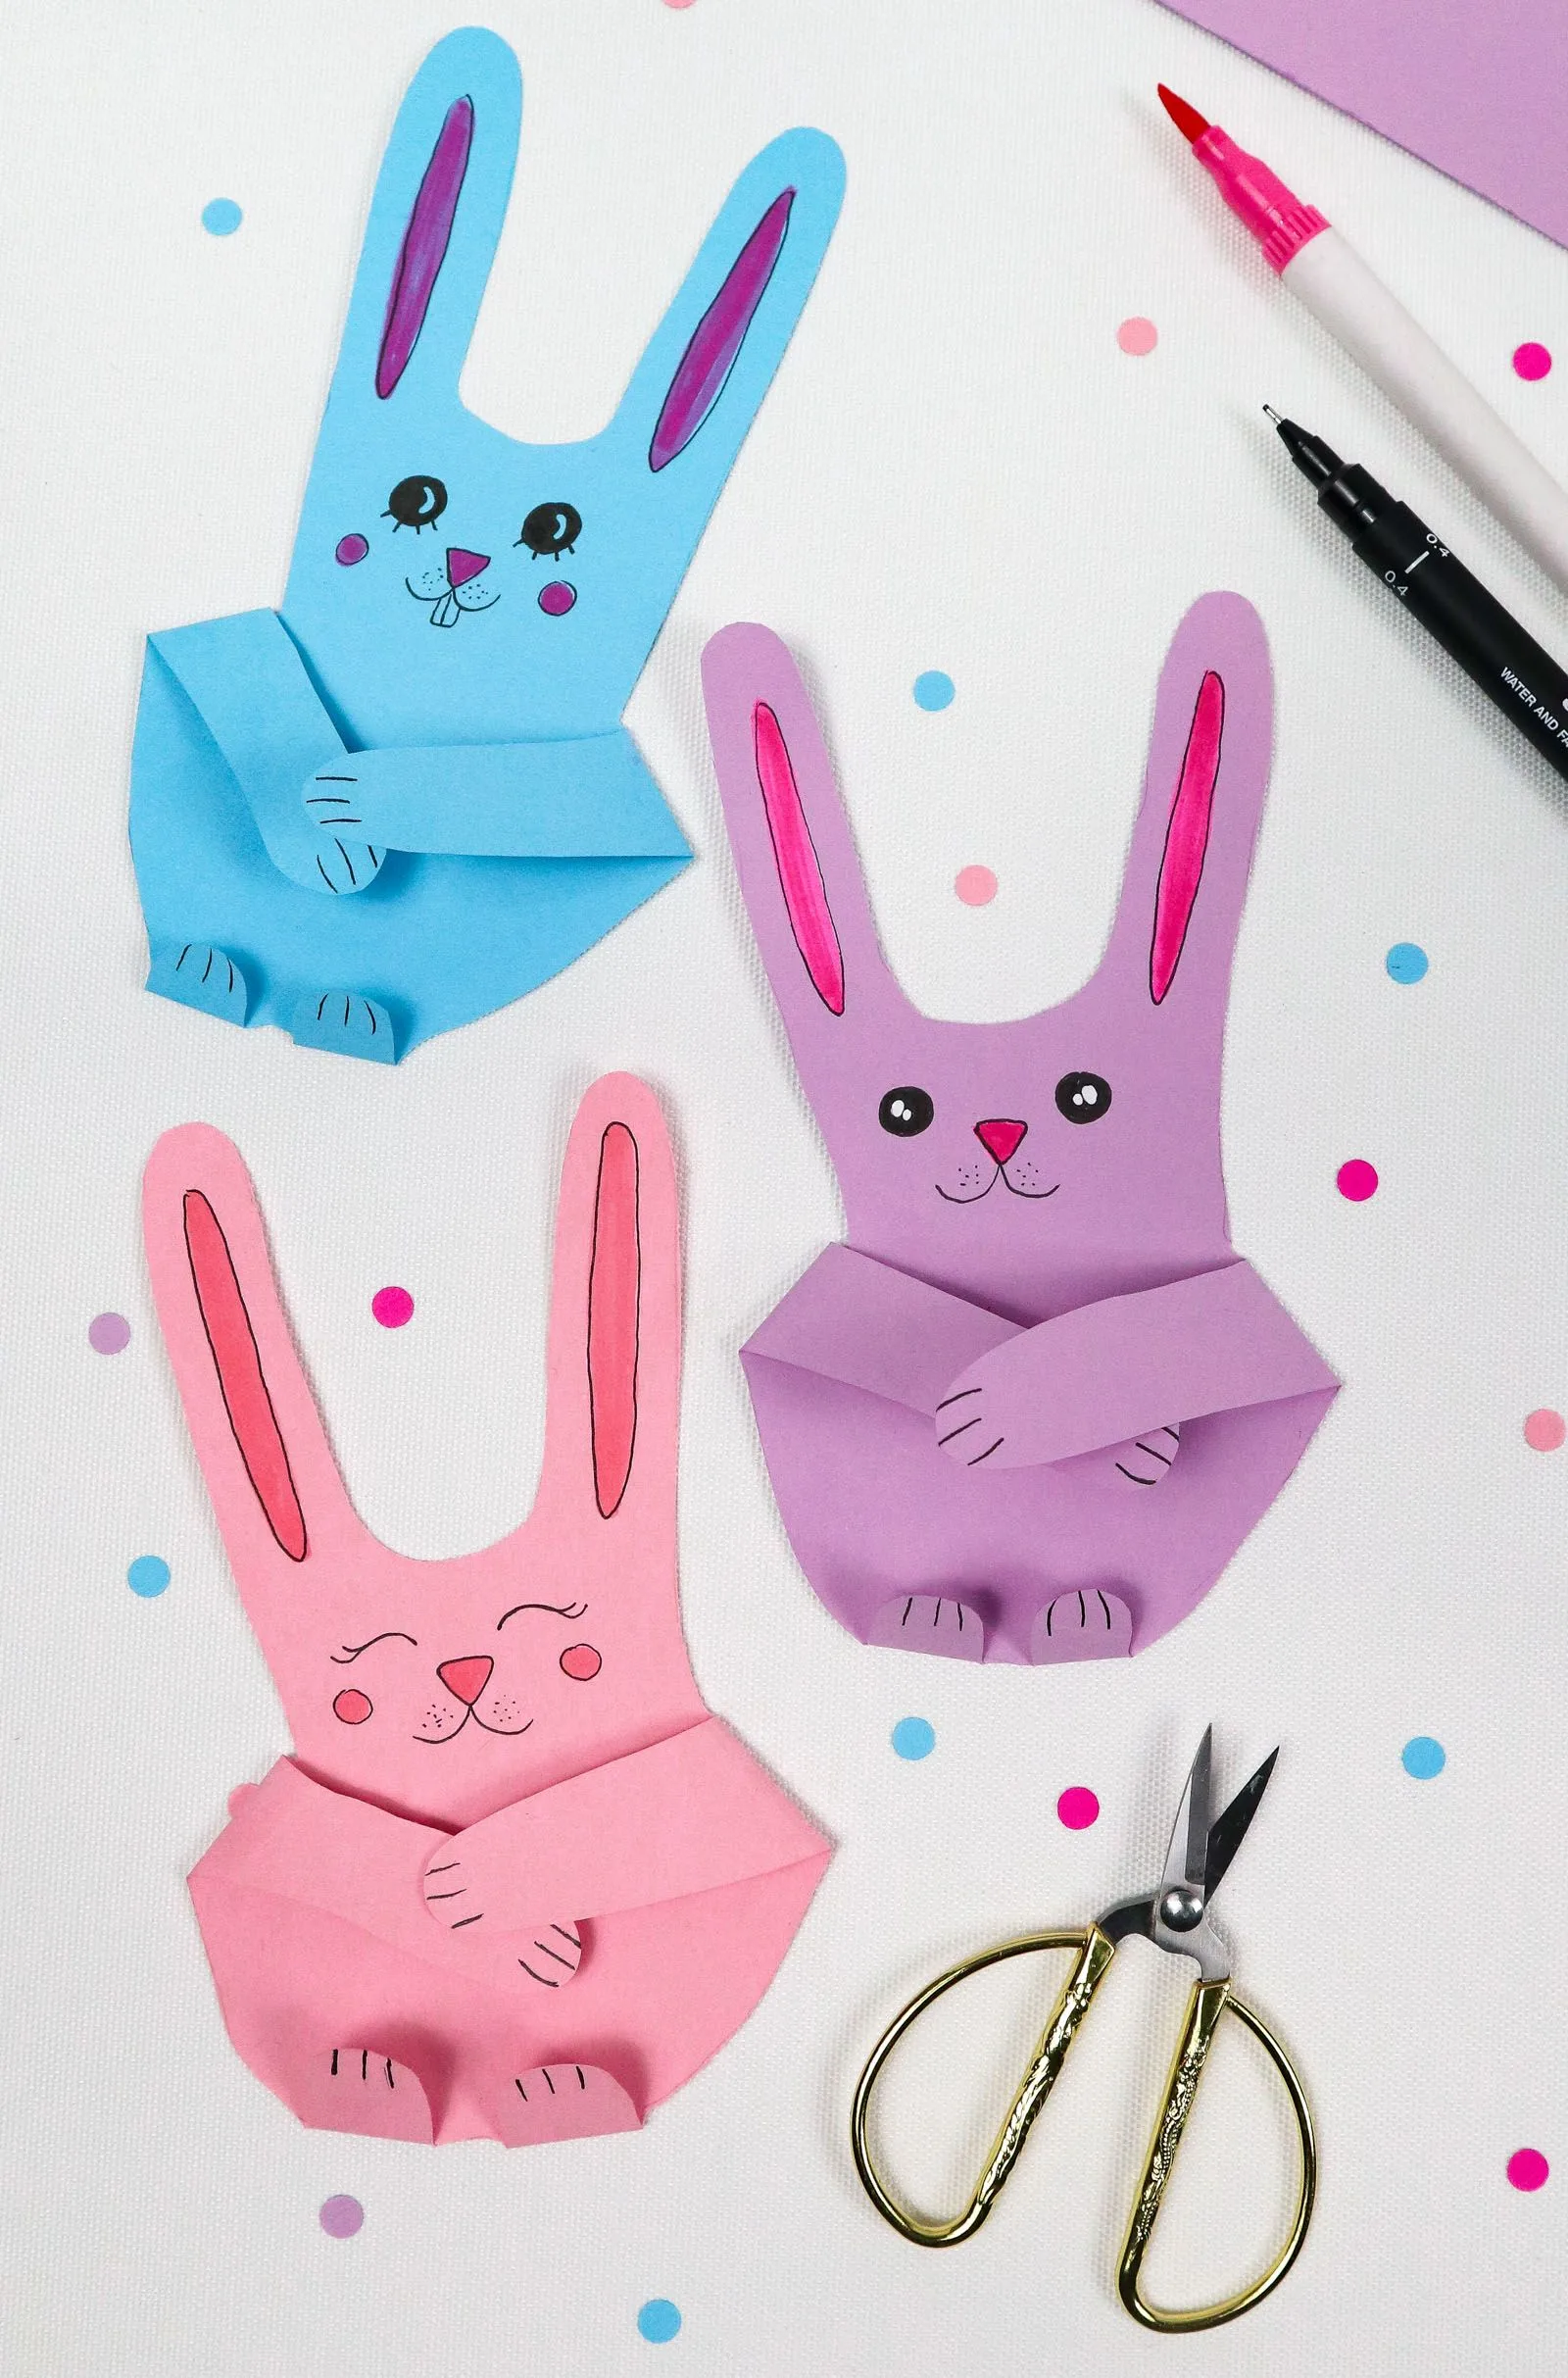
Are you tired of the winter season and looking for crafts or anything to jump-start Spring? These handprint bunnies are a perfect solution!
These cuties are sweet, adaptable, and the perfect pop of fun for any decor or random afternoon. It’s easy to make one or a good handful; the most timely part is cutting the bunnies out.

The bunnies, if multiple are made, would make a darling garland or banner to hang up for Spring or Easter in a classroom or home. Make them all one color, or pick out a few colors.
Alternatively, they’d make for a precious card from a child for a guardian or teacher or simply fun fridge additions.
However you choose to display your bunnies, they are sure to add some fun to your season.
This craft is great for artists of any age! The directions are simple enough for younger or older crafters and a great option for a multi-step project for those who need the practice.
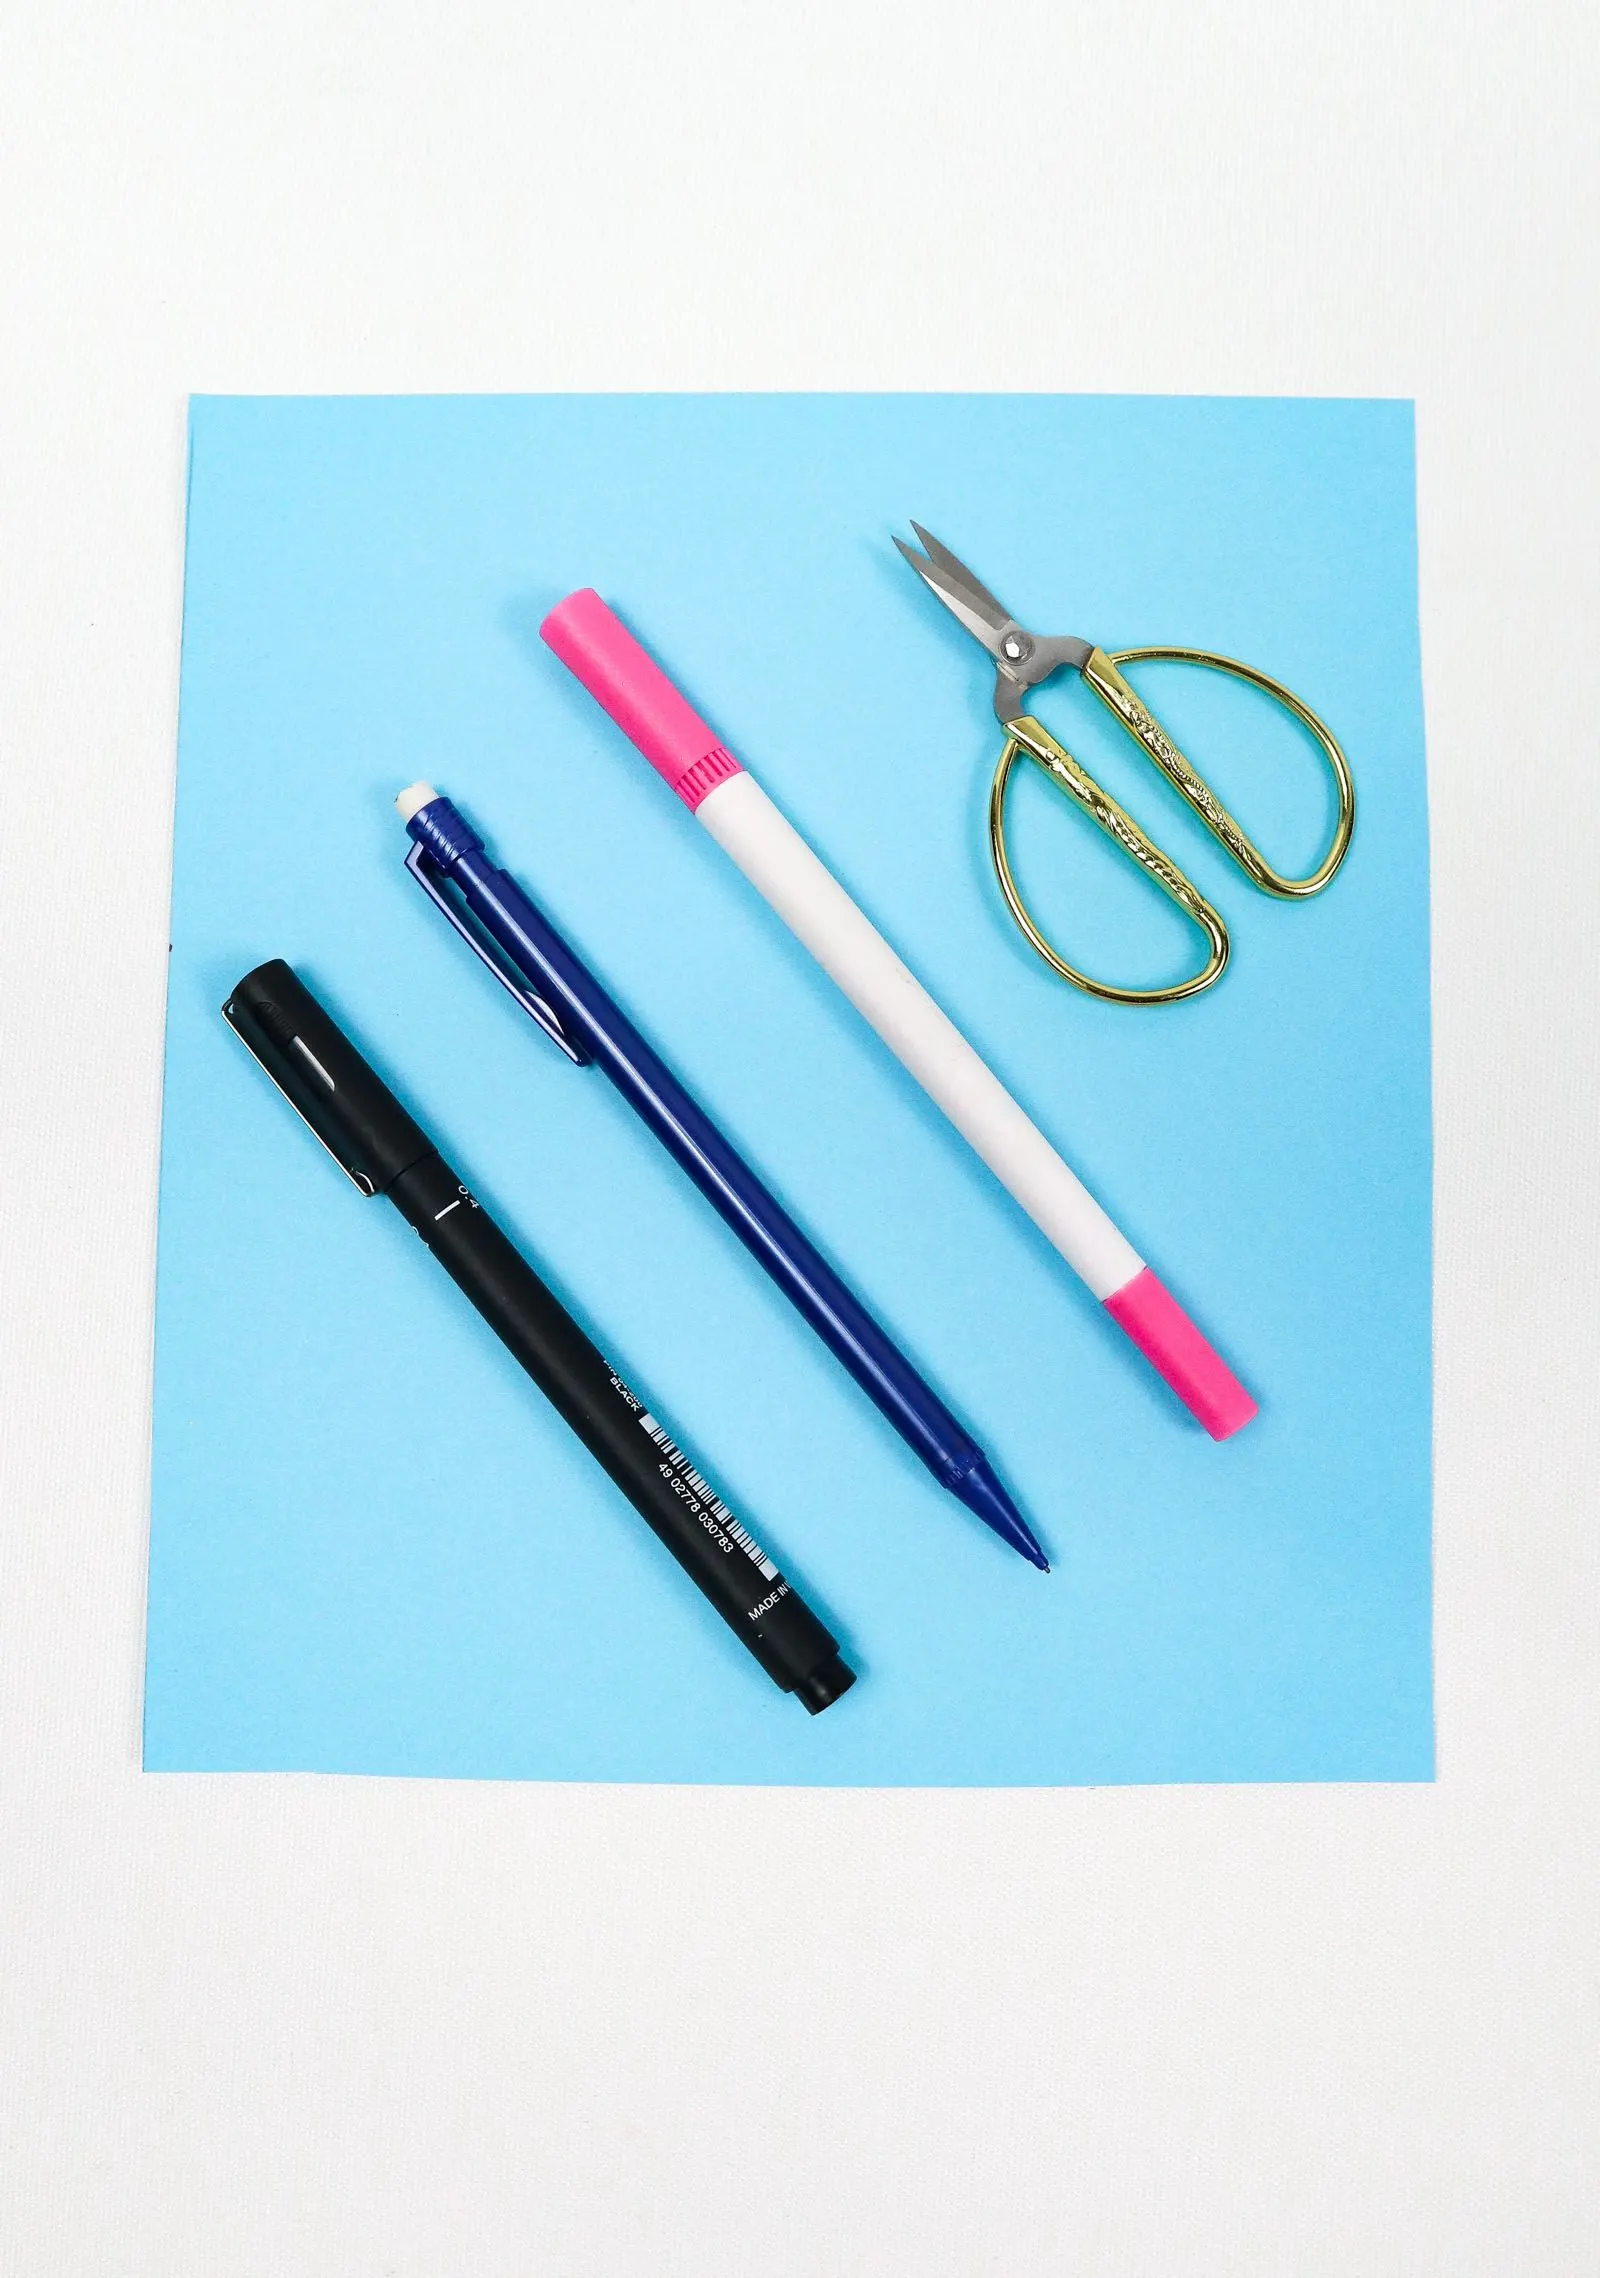
Supplies You’ll Need
- Colored paper
- Pink marker
- Black marker
- Scissors
How to Make Handprint Bunnies
Step 1. To start, you’ll need your chosen piece of paper, your tracing marker (opt for a pencil if you’re more comfortable), and your or the artist’s hand!
Arrange everything properly and trace the hand onto the piece of paper.
If you have a smaller hand you’re working with, be sure to use a pencil and opt for a looser trace to give their bunnies a little more surface area to work with.
You can also do this for an adult hand for the same reason.
Step 2. Once done with the hand tracing, you’ll add two small round, unclosed circles at the base of the palm.
Space the bits similar to a rounded “W” bubble letter bottom–this will become the bunny’s feet later on.
There’s a little playroom here! You can opt for smaller or bigger feet depending on the size of the artist’s hand.
Step 3. Continuing after the whole thing is traced as you want it, cut the silhouette out. There are no special or specific tips to cut the shape out; just leave everything intact to start.
Step 4. This step will start with the more specific cuts that will lead to the creation of the bunny. First, we will cut the middle finger out of the lineup.
To do this, follow the line of the finger on either side–you don’t want to cut too deeply–we’re just trying to get the digit out, nothing else.
Step 5. The next cut will be to the space between the pinky and the ring finger to mirror the space between the thumb and pointer finger. A little angled snip should do.
The main goal is to have either side of the ear-body mirror one another. A good tip is to start conservatively because there is always room to tweak the area more if needed.
Step 6. Once the cuts are made and it’s looking even on either side of the bunny’s upper and mid-body, we’ll start the folds.
Fold the pinky and then the thumb toward the middle of the rabbit’s belly. Follow the natural tendency of either finger’s fold–it’ll result in the nicest overall lay for the craft.
Step 7. The feet folds come after the arms get folded. So, after you get the arms situated, a simple bend upward is all you need for either foot.
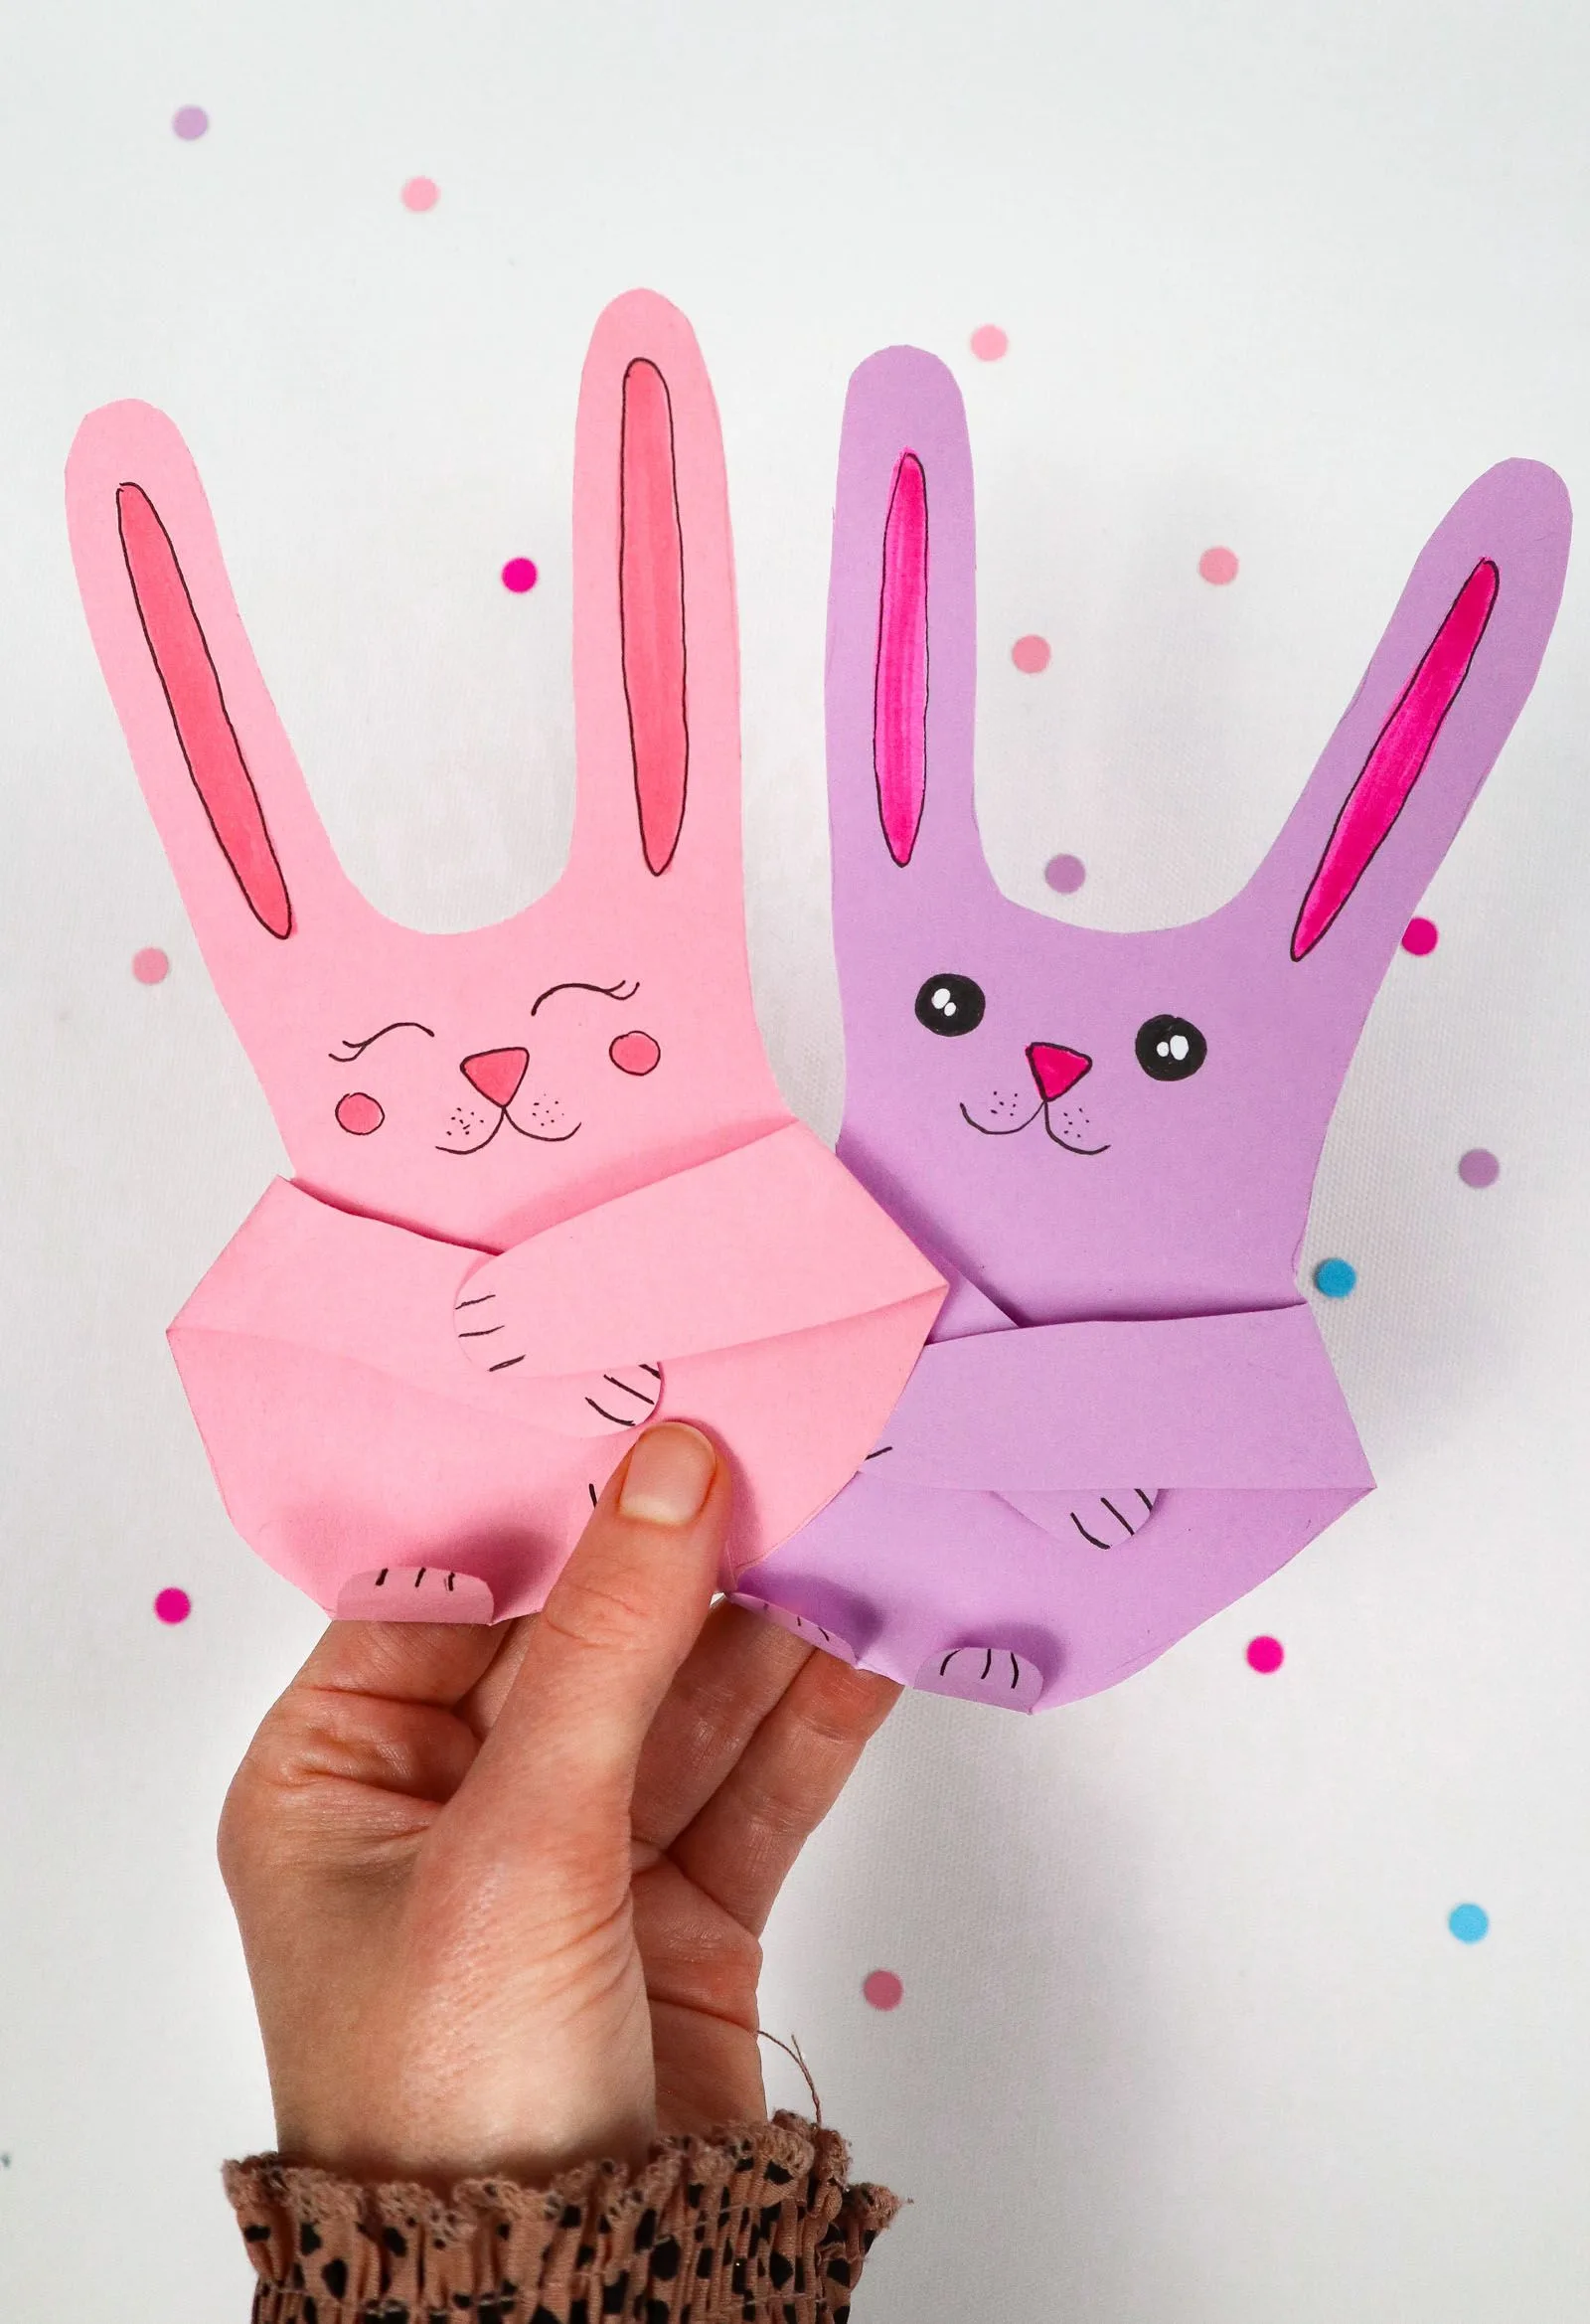
Step 8. Finally comes the fun of decorating your bunnies! You really only need a pink and black marker, but if you want to do a more colorful version, by all means, go for it!
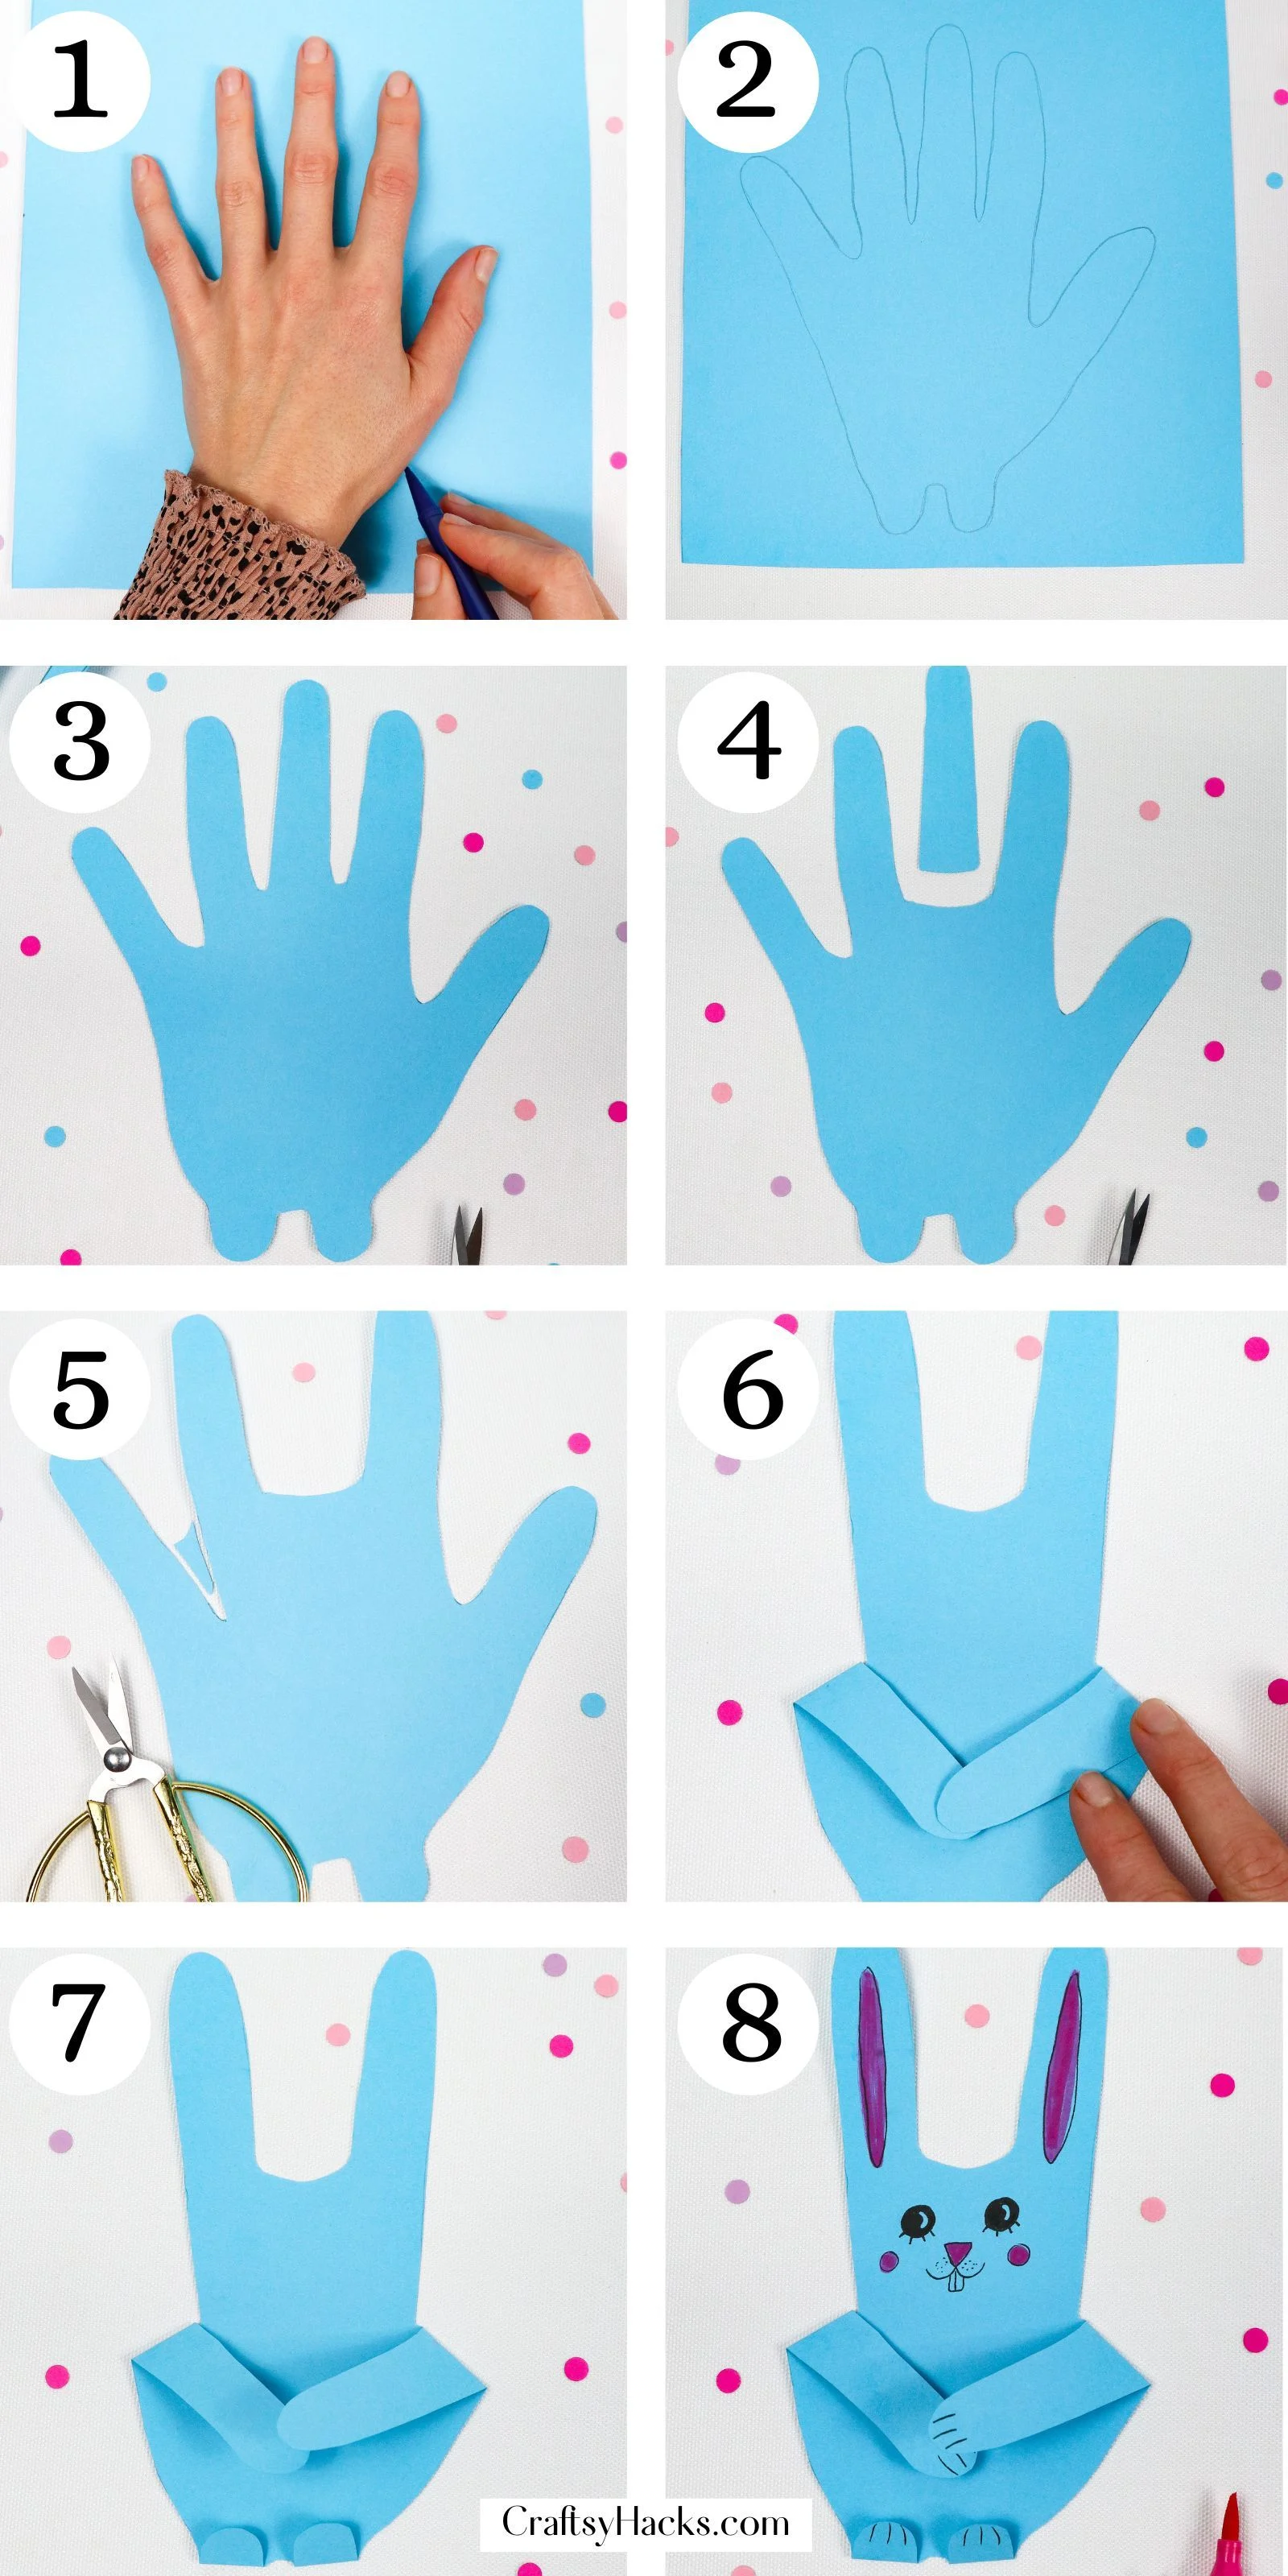
Not shying away from color is never a bad thing. Once you draw the accessories, your bunnies are ready to hop to it and bring cheer to all who see them.
Watch How to Make